Data Pipeline Tutorial
This guide provides a step-by-step walkthrough for building data pipelines using the Data Features Toolkit.
Prerequisites
Before starting, ensure you have:
-
Valid user credentials
-
At least one dataset uploaded in the platform.
Creating Your First Pipeline
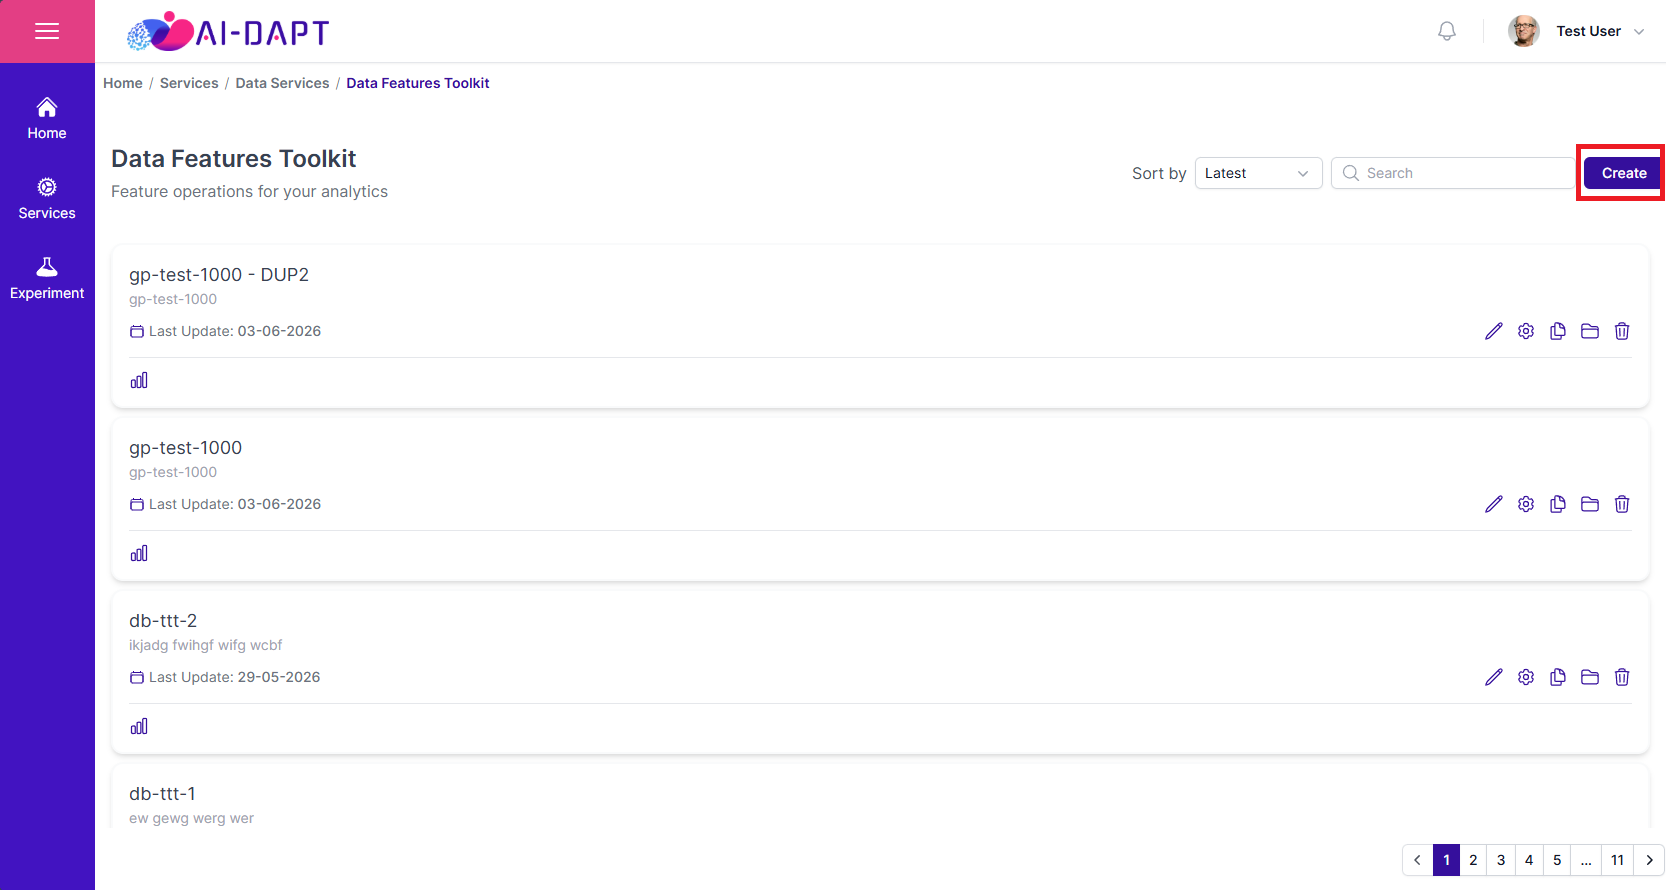
The Main Page serves as the central hub for managing data pipeline projects. Here, you can view edit existing pipelines, edit them, or create new ones.
-
To create a new pipeline click the Create button in the top right corner.
-
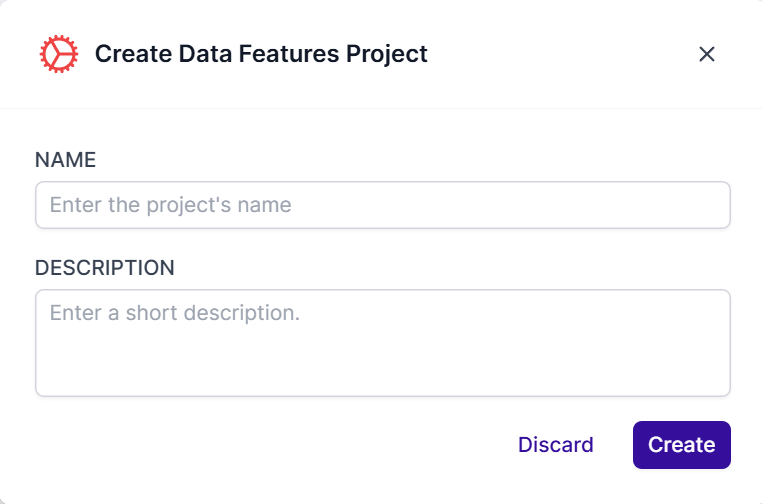
Enter a name and description for your new pipeline project in the pop-up form and click Create.
-
Now, the new project appears in the list of pipelines. Click on it to open the project configuration page.

-
You are now in the project configuration workspace, where you can start building your data pipeline by adding blocks from the library on the right. Let’s add our first block, click on the Input category and select the Read Dataset block.
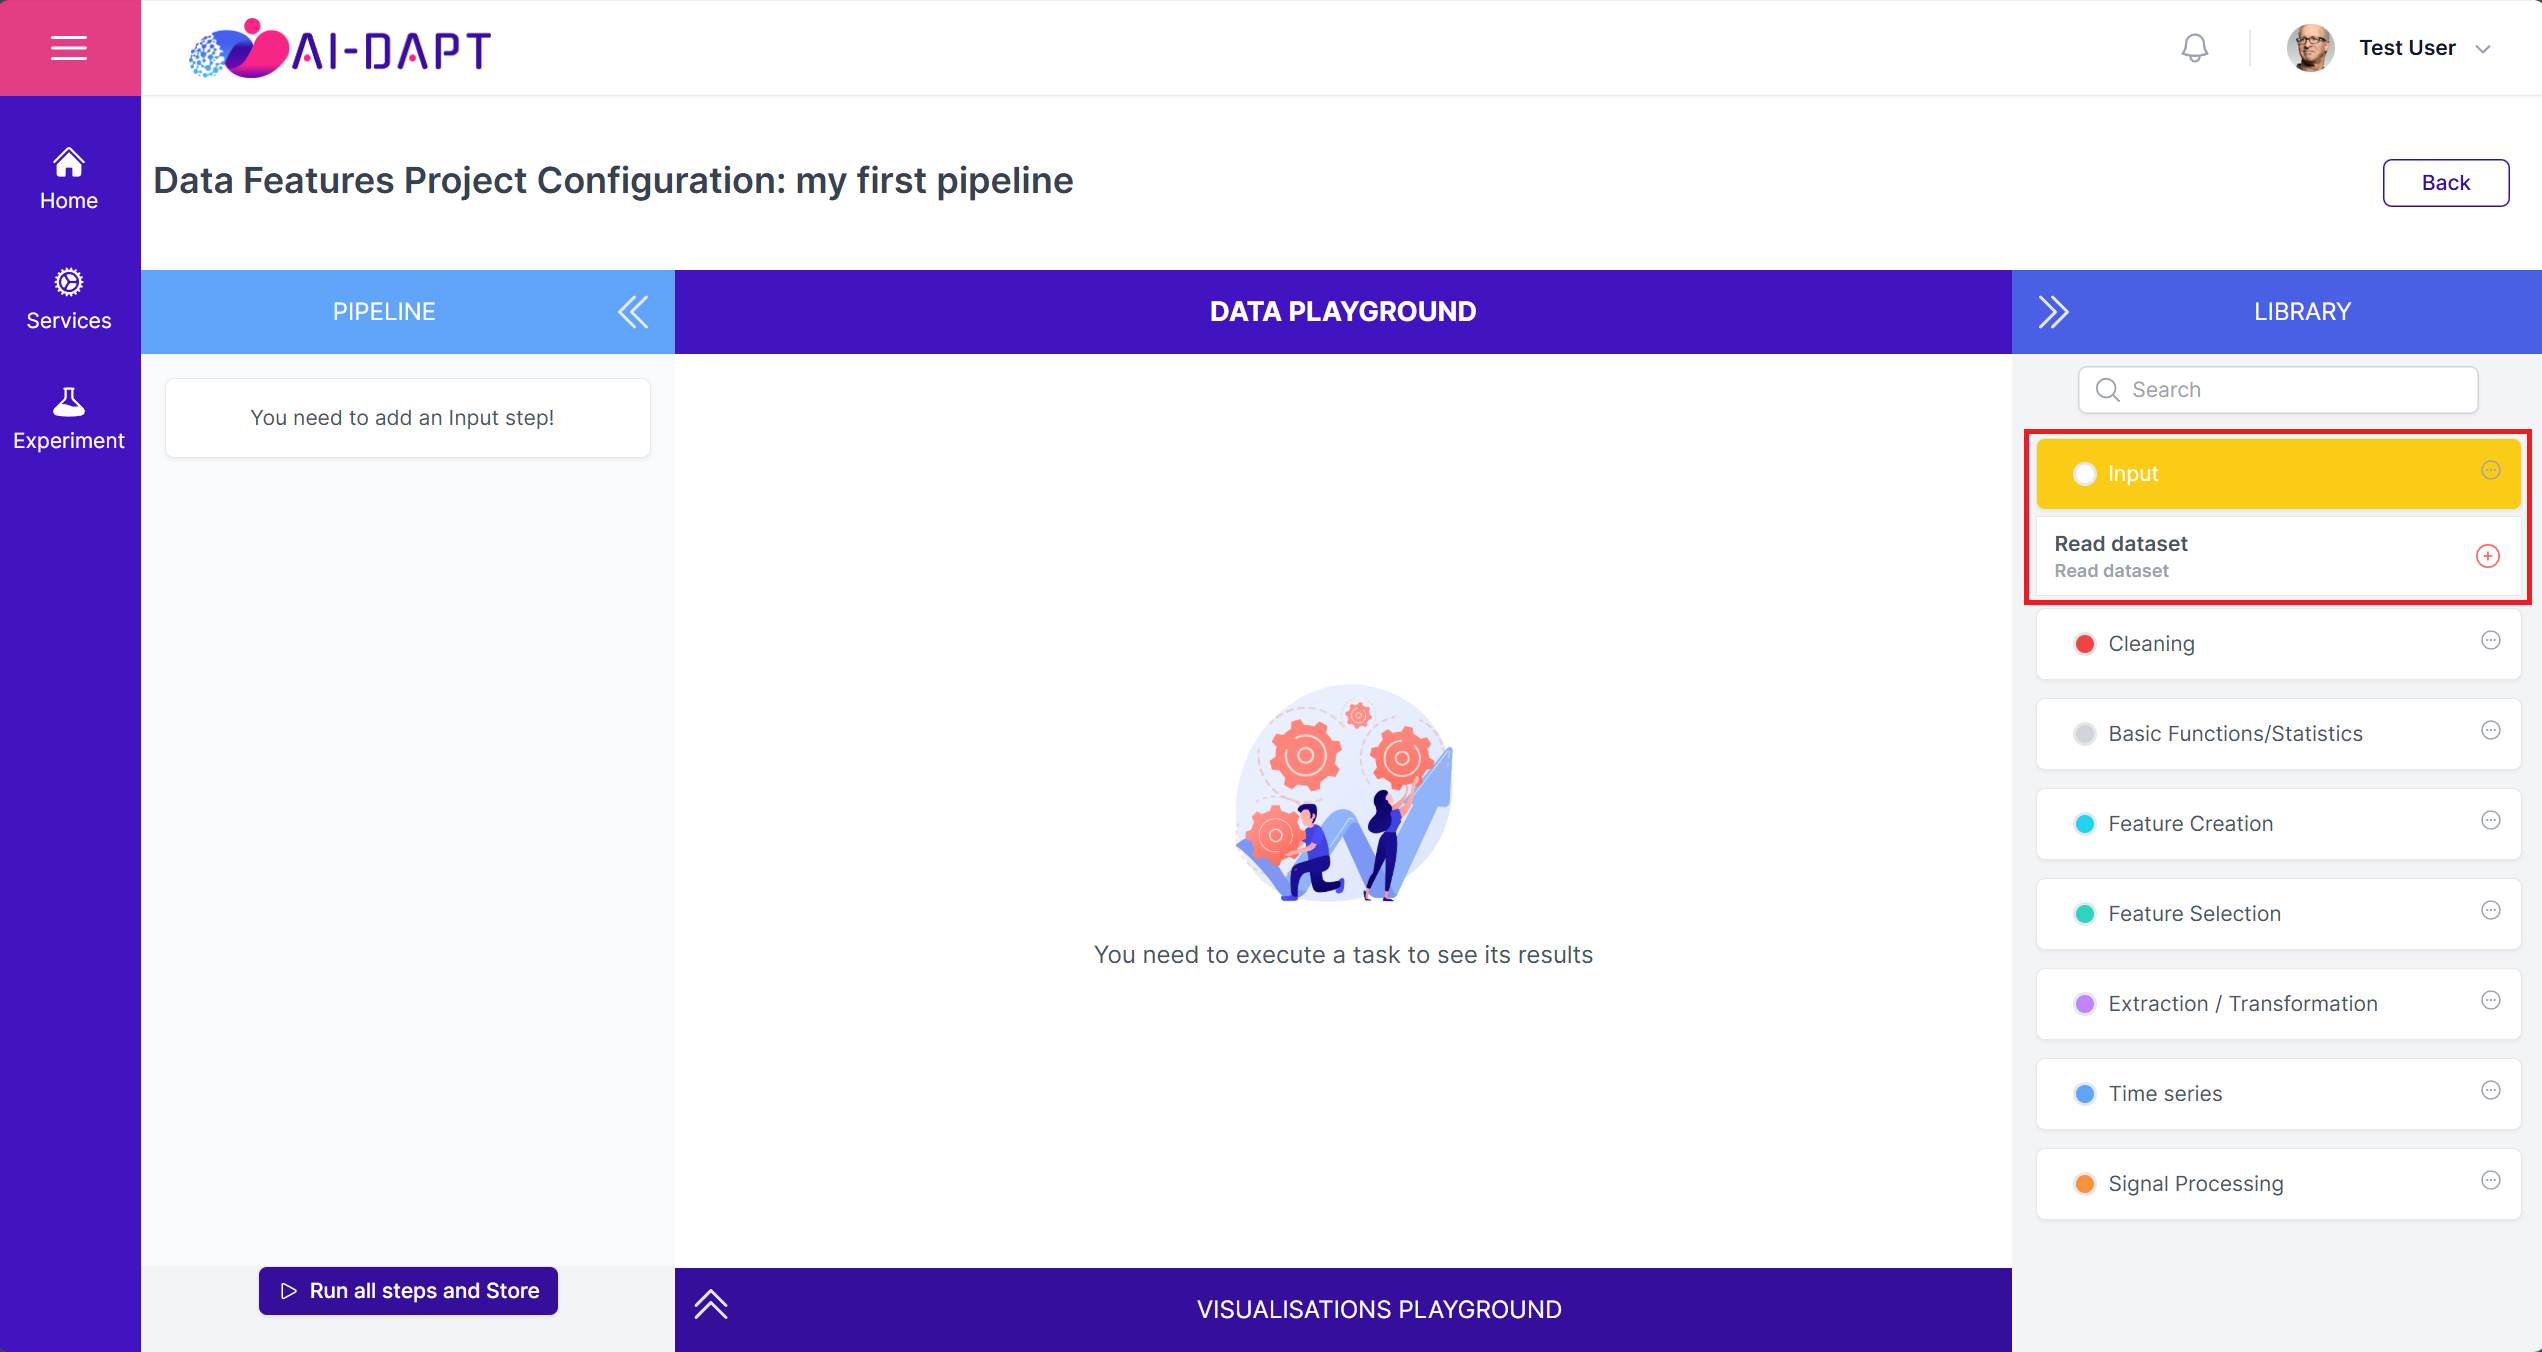
All pipelines must start with an input block. -
Select the dataset you want to use from the dropdown menu or search for it by name. Once selected, click Add to Pipeline.
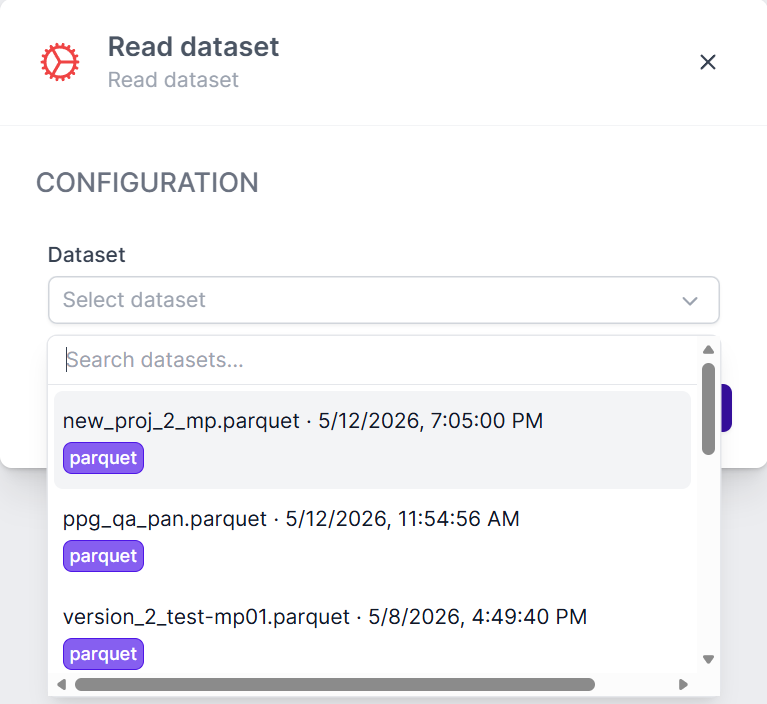
-
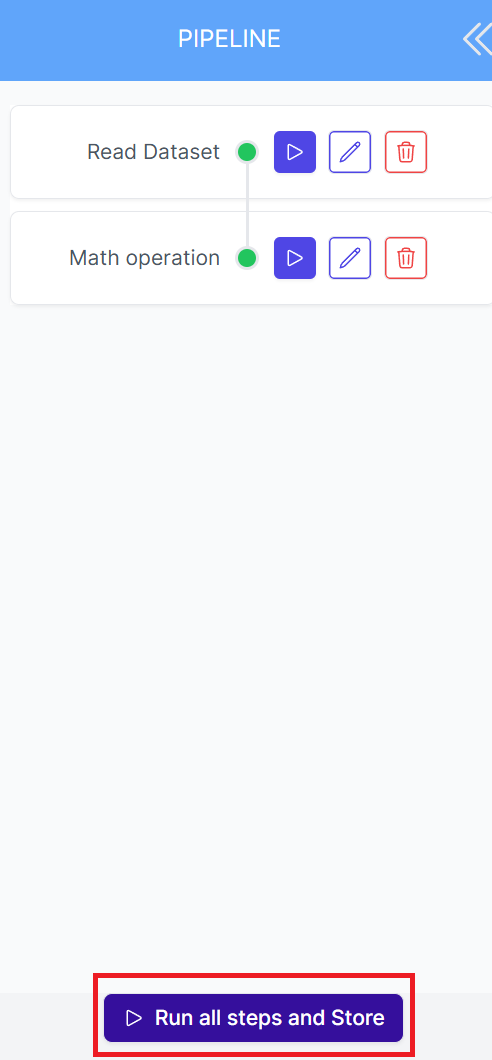
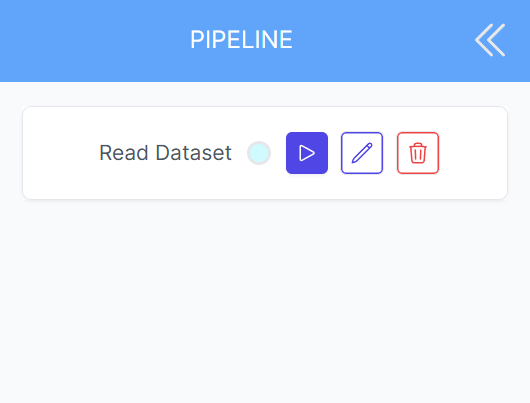
The block is now added to your pipeline. You can edit a block’s configuration by clicking the Edit icon, or delete it by clicking the Delete icon.
Currently, the block is not executed, as denoted by the cyan status. To execute the block, click the Run icon.
-
Once the block is executed, its status changes to green. You can now preview the resulting data frame in the Data Playground by clicking on the executed block.
Only the first 100 rows are displayed in the Data Playground. 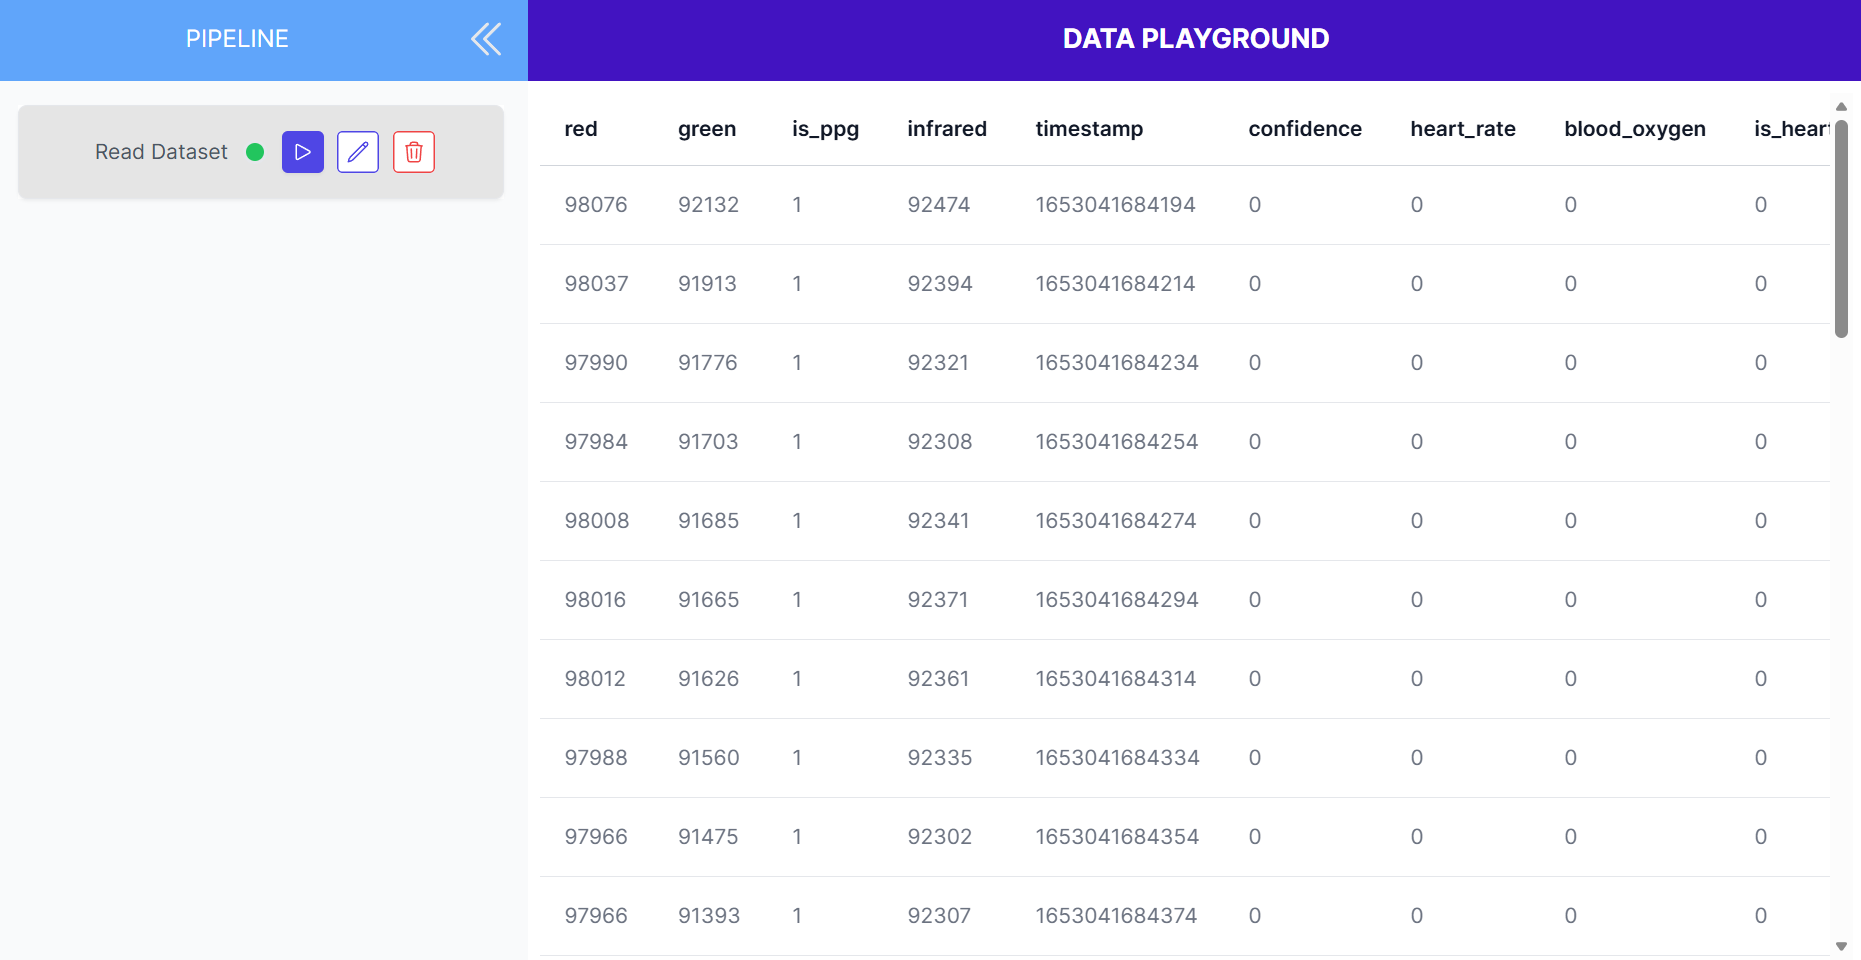
-
Let’s perform a simple transformation on our data. Click on the Cleaning category in the library and select the Math functions block.
As one can see, the blocks are organized into categories based on their functionality, such as Cleaning, Feature Creation, etc.
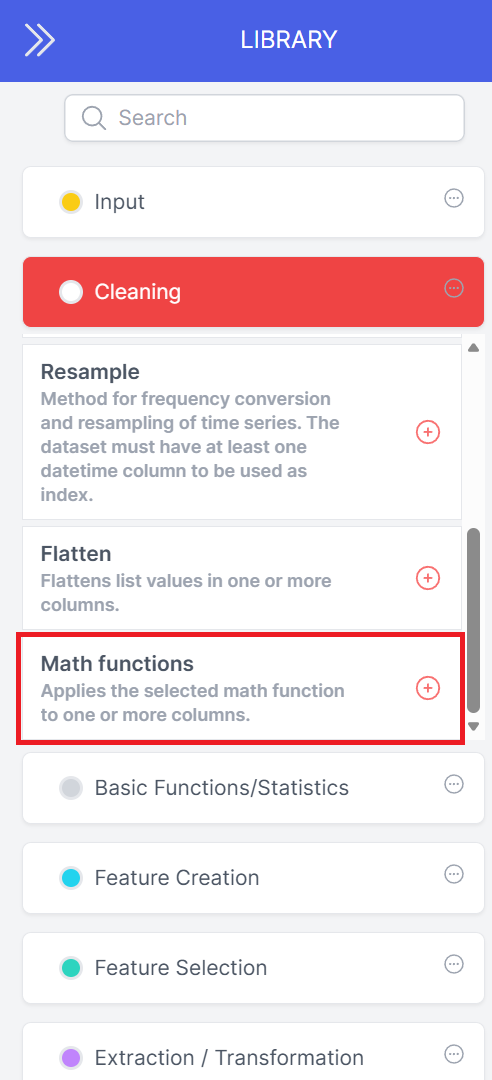
In the configuration pop-up, select the column(s) you want to apply the transformation to, and the function you want to apply. For this example, let’s select the green and red columns and the logarithm function (leave Base empty). Once done, click Add to Pipeline.
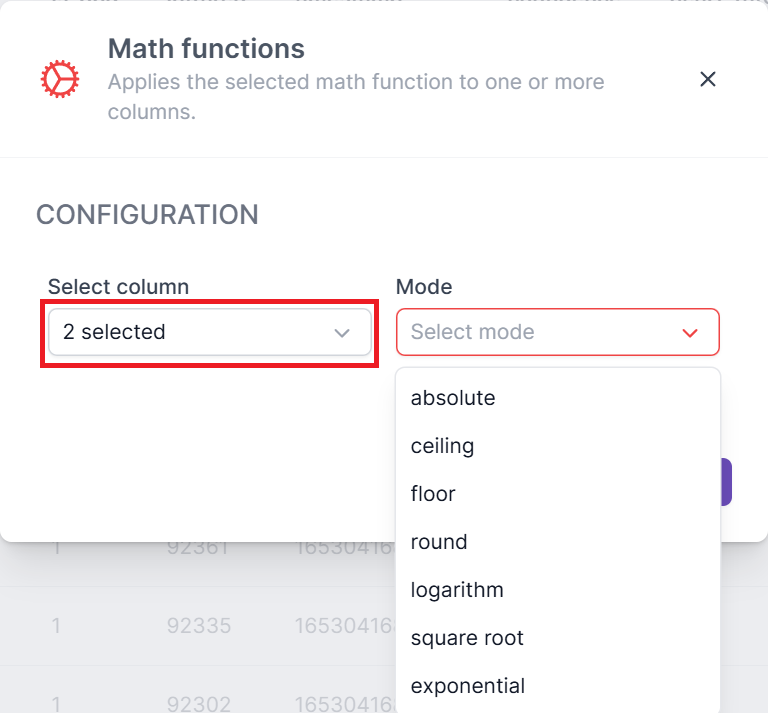
For many blocks, you can select multiple columns to apply the same transformation to all of them at once. -
Now, the configured block appears in the pipeline, but once again has not been executed yet. Click its Run icon to execute it.
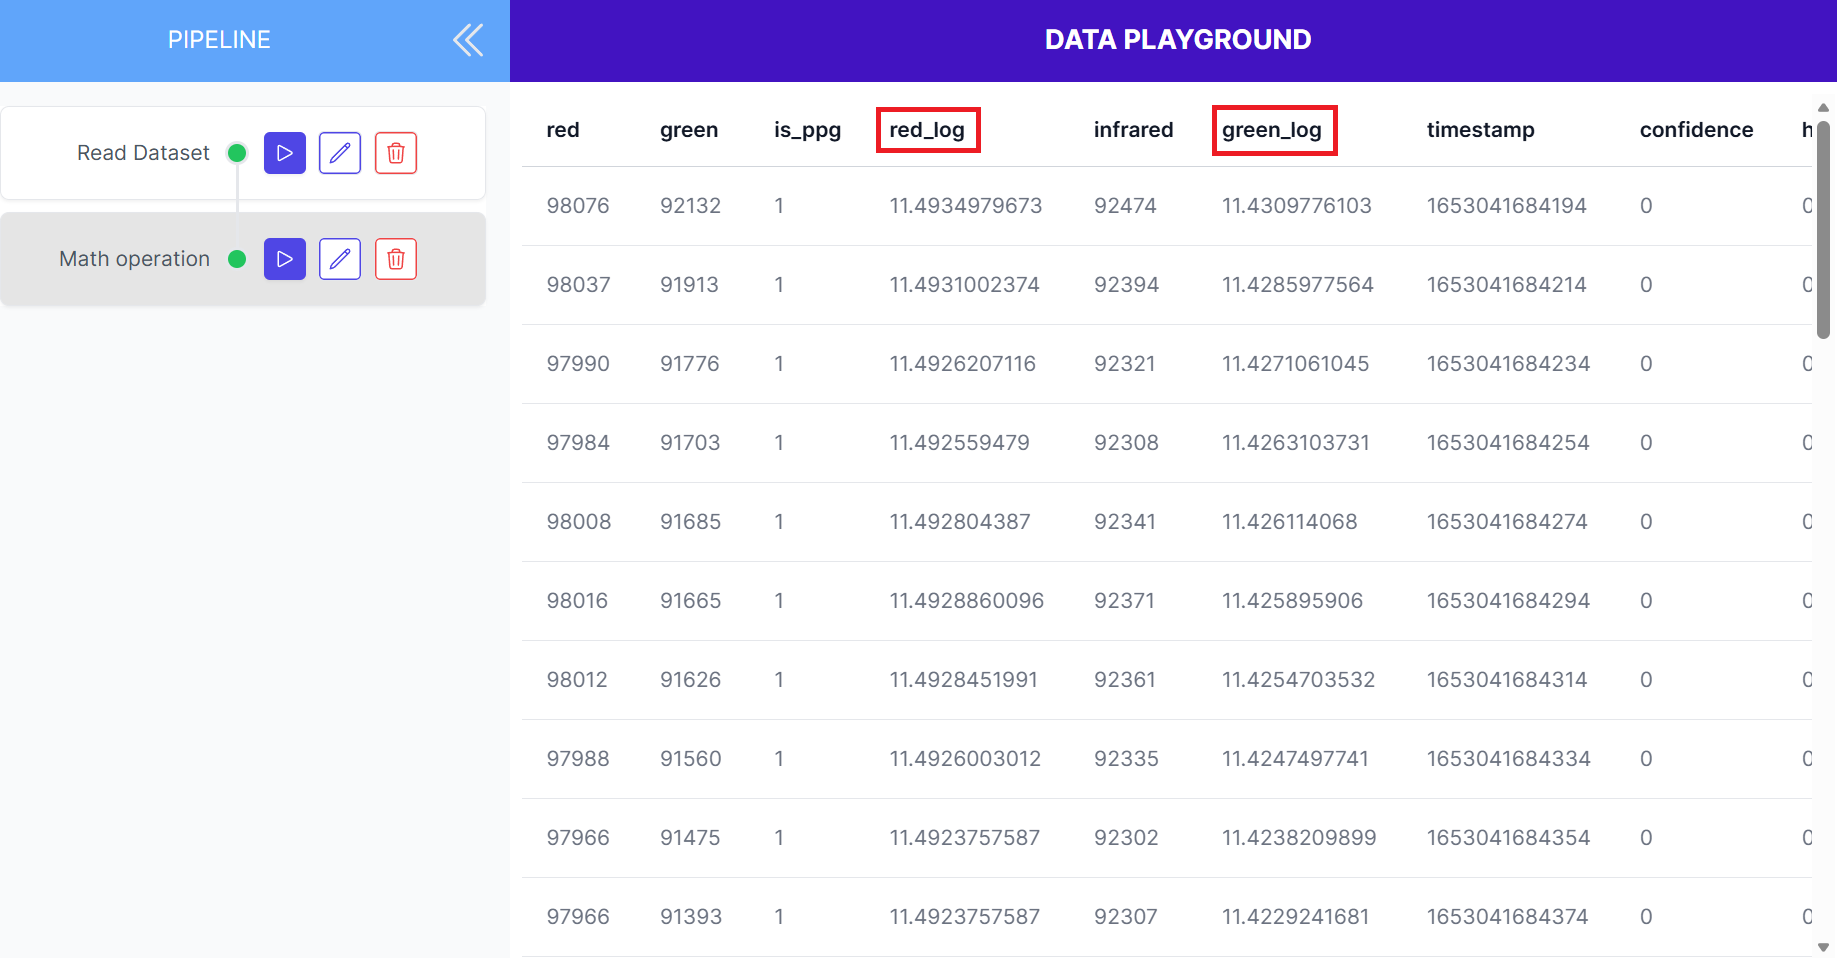
The results of the previous blocks are kept. You can view them by clicking on the respective block in the pipeline, without needing to re-run them. -
You have now successfully created a simple data pipeline with an input and a transformation block!
You can continue building your pipeline by adding more blocks from the library, such as filters, feature creation blocks, or aggregations.
You can change the order of blocks in your pipeline by dragging and dropping them within the left panel. Doing so, will cause all blocks following (and including) the moved block to revert to draft (grey) status, requiring them to be re-configured. 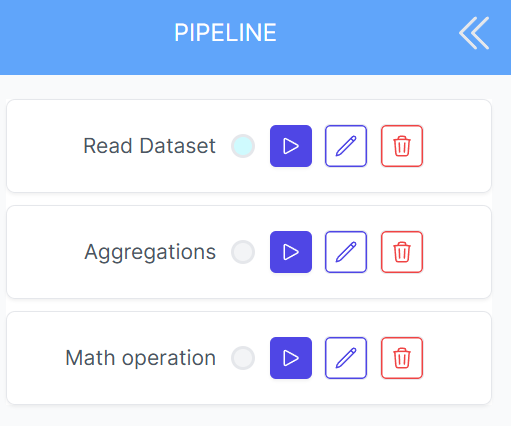
-
When you are ready, click Run all steps and Store to execute the entire pipeline and save the resulting data frame as a new dataset in the platform.