Tutorial
This tutorial walks through the typical Data Harvester flow:
-
Open the UI (and login, if enabled).
-
Ingest data (file/API/DB).
-
Monitor the job result.
-
Optionally configure schedules for recurring ingestion.
Prerequisites
-
Access to the Data Harvester UI
-
If enabled in your deployment: valid Keycloak credentials
-
For API ingestion: a reachable HTTP endpoint
-
For DB ingestion: reachable PostgreSQL/MySQL endpoint and credentials
Step 1: Access the UI
Open the UI:
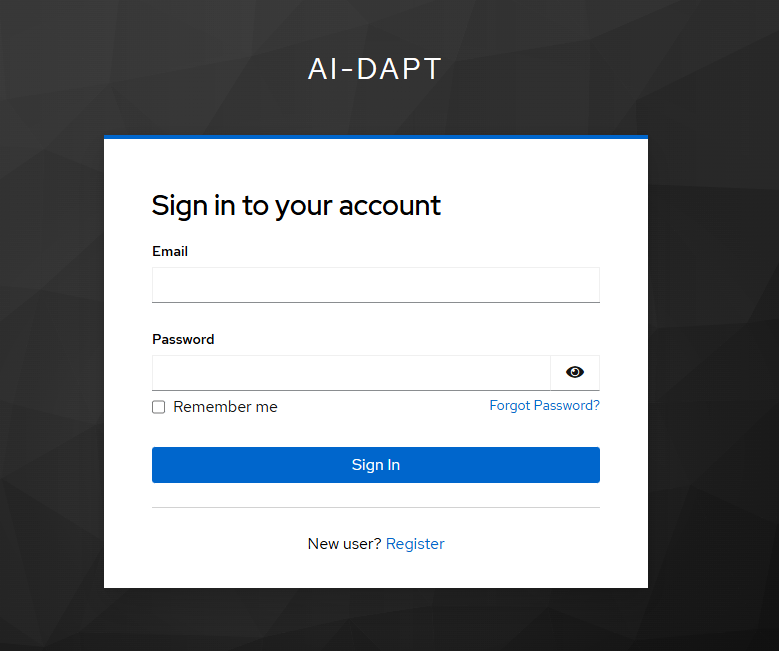
If Keycloak authentication is enabled, you will be redirected to the login flow.
Step 2: Upload a local file
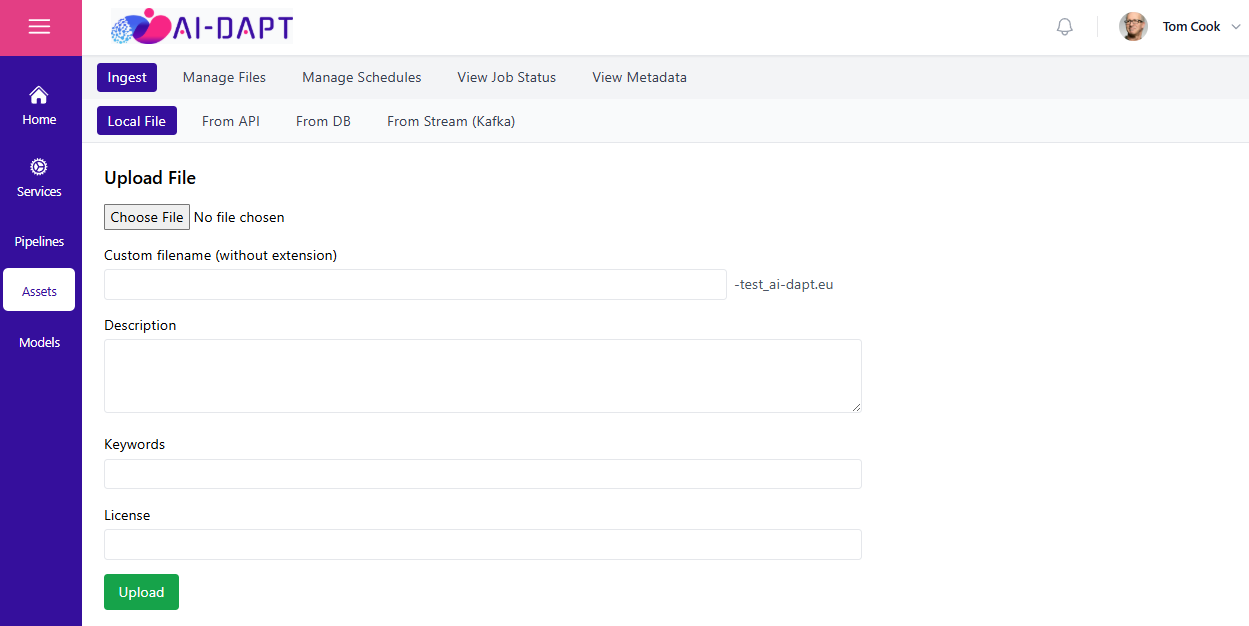
From the dashboard, select the local file ingestion option and upload a supported format (CSV, XLSX, TXT, JSON, Parquet).
The backend will:
-
create a job record,
-
store the raw object in MinIO/S3,
-
store operational metadata in PostgreSQL,
-
optionally publish DCAT/RDF metadata to DDE (if enabled).
Step 3: Ingest from an HTTP API
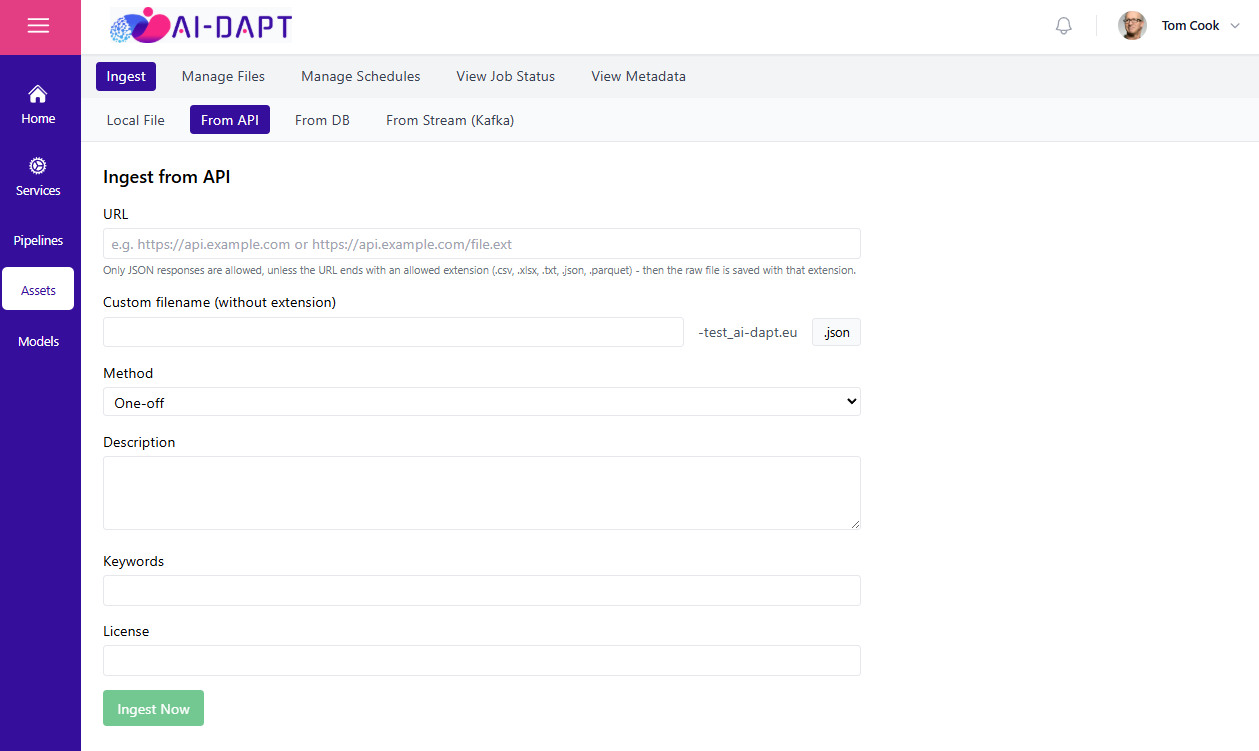
Select the API ingestion option and provide the endpoint details (JSON or raw file endpoint).
Step 4: Ingest from a Database
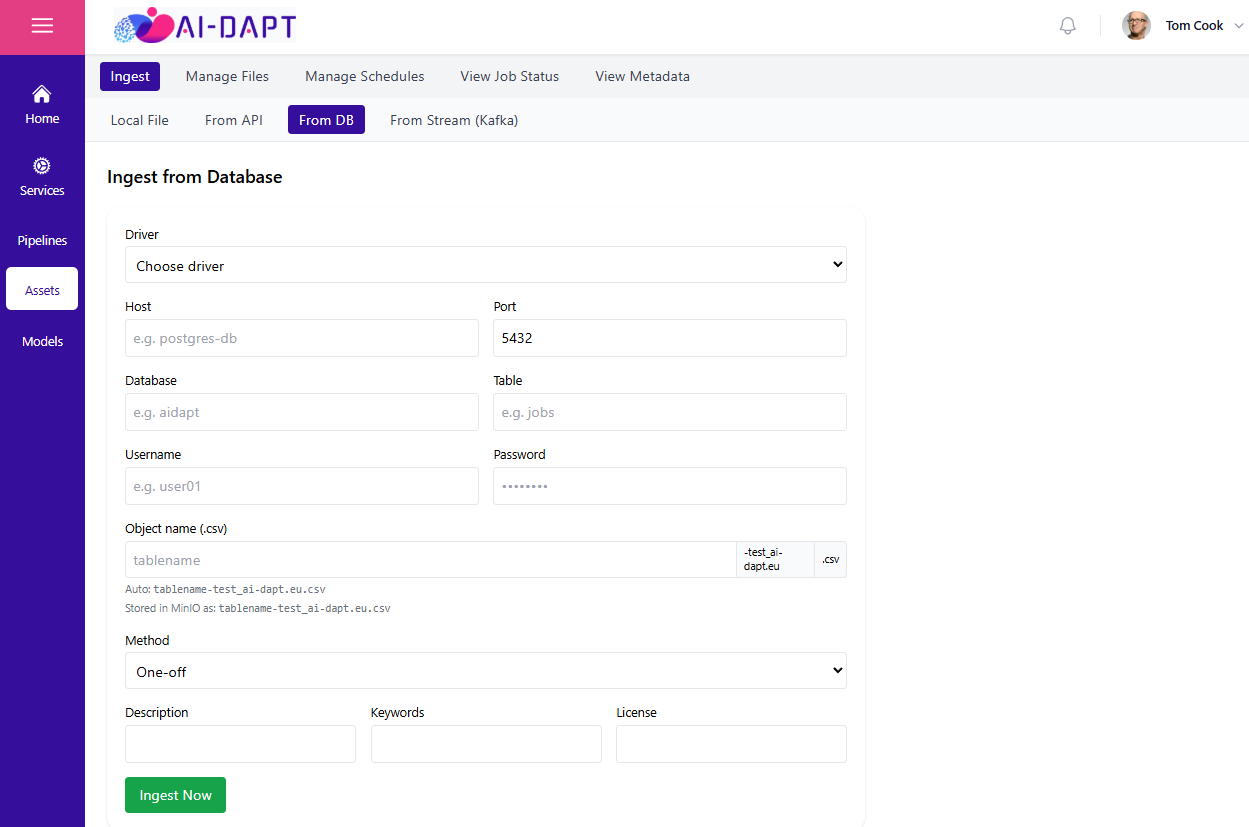
Select the database ingestion option and provide DB connection details (PostgreSQL or MySQL), plus the query/table configuration required by your deployment.
Step 5: Manage files
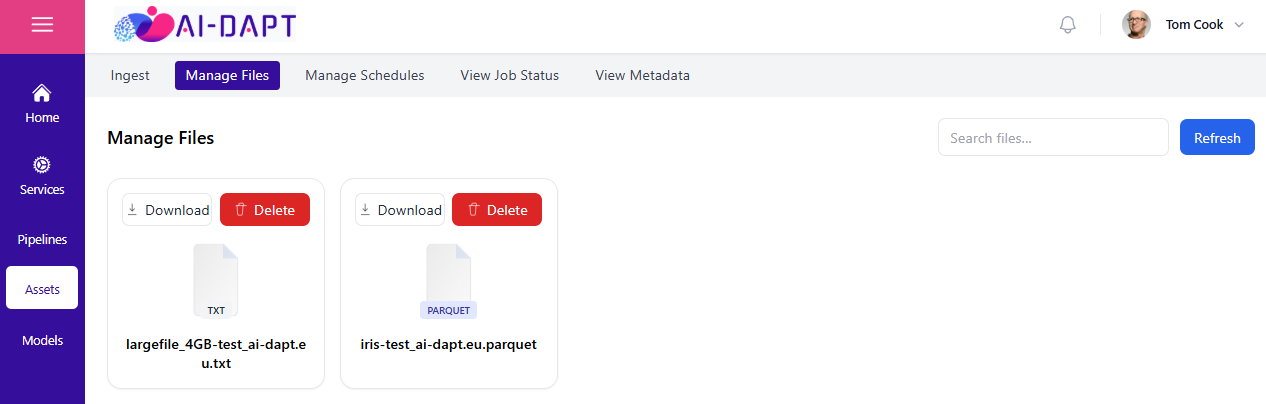
Use the "Manage Files" view to list, download, and delete datasets (ownership rules apply when Keycloak is enabled).
Step 6: Manage schedules
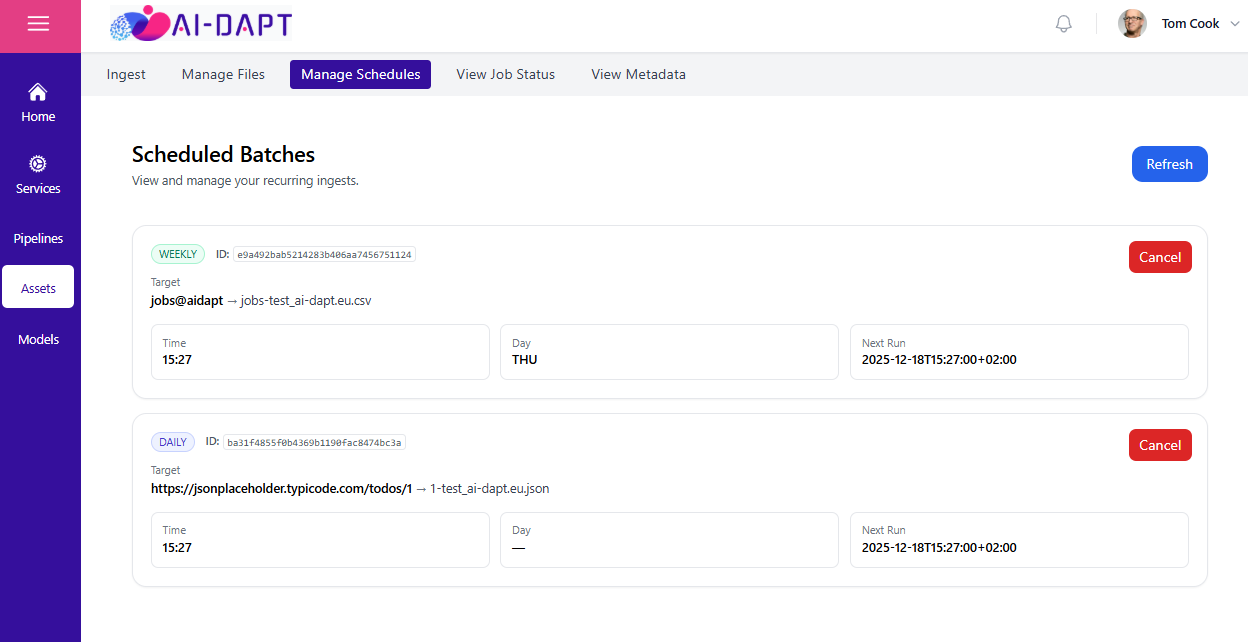
Use the schedules view to create and manage recurring ingests (API or DB). The scheduler executes schedules and creates a new job per execution.
Step 7: View job status
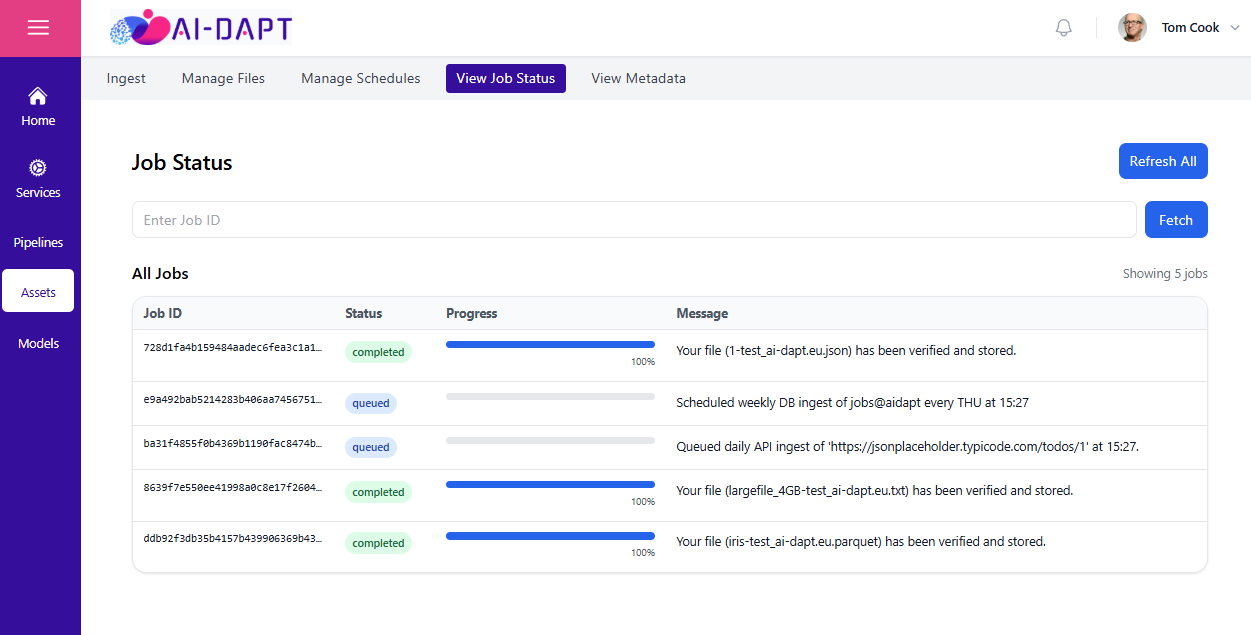
Use the jobs/status view to monitor ingestion progress, results, and failures.
Next steps
-
API Reference (for programmatic usage)
-
Deployment (for running locally or in production)